
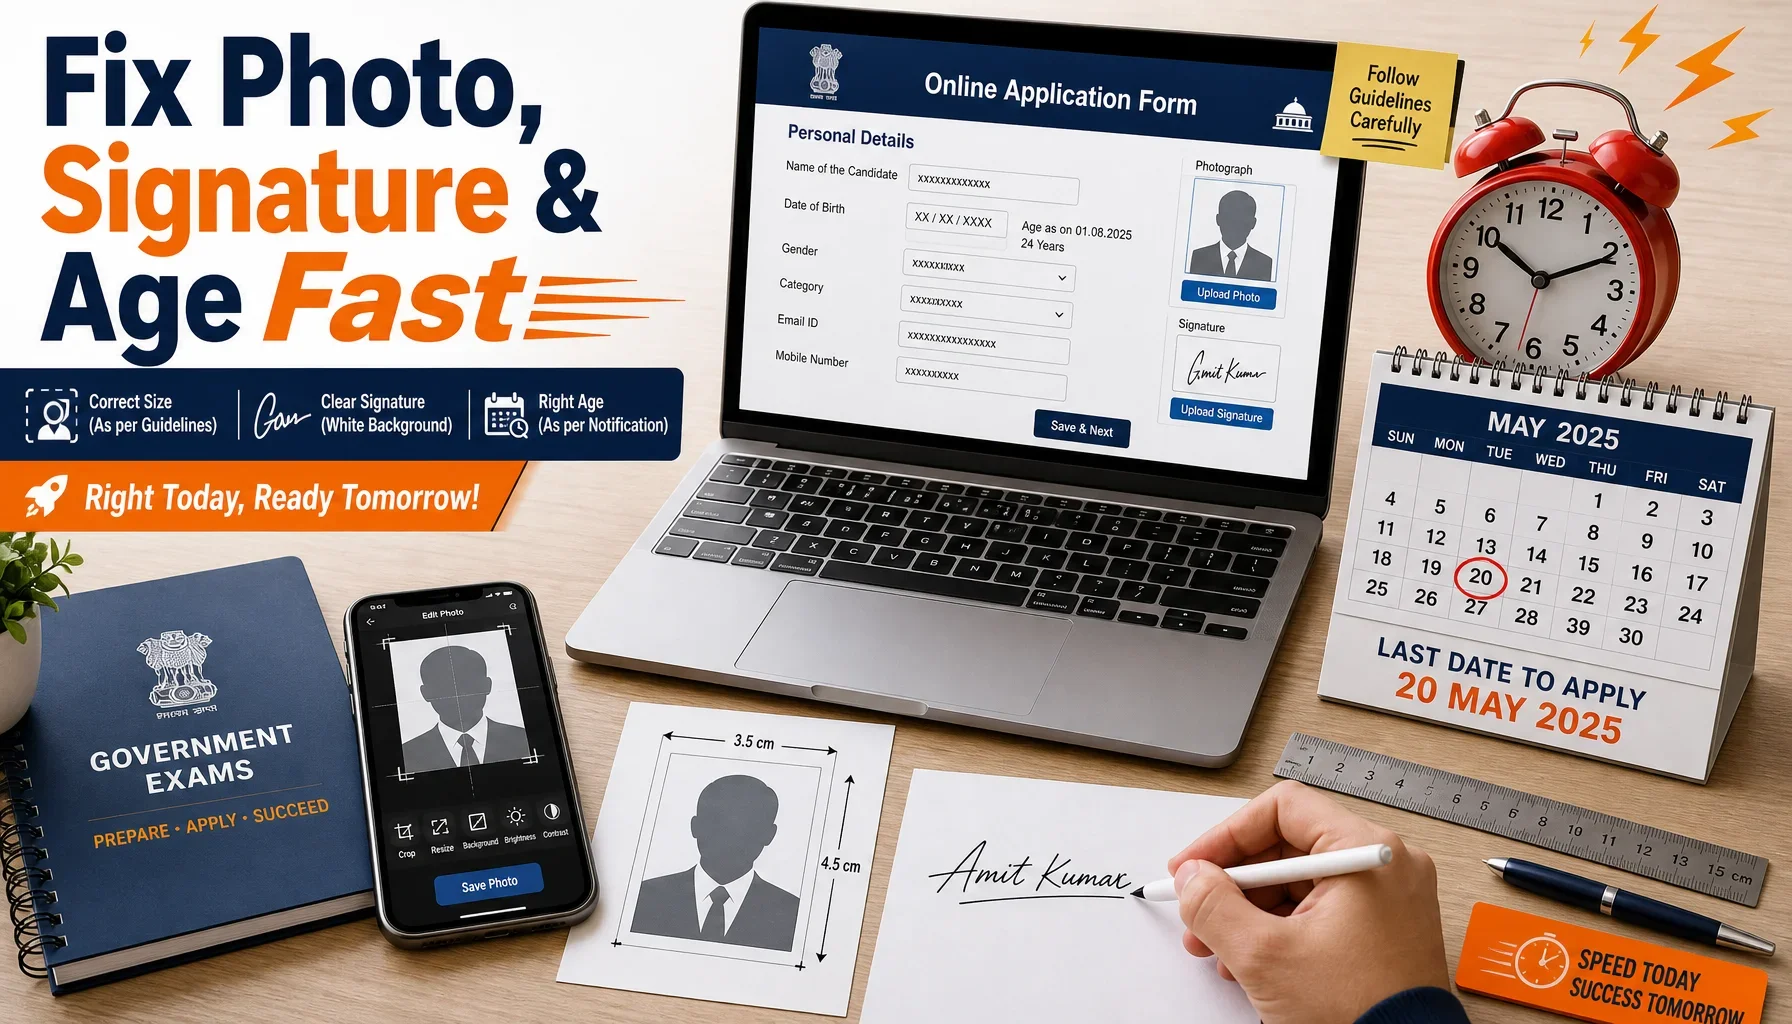
The clock is ticking. The application deadline for your government exam is just hours away, and you're staring at an "upload photo" button that keeps rejecting your image. Sound familiar? Every year, thousands of aspirants lose their shot at a coveted exam seat—not because they weren't prepared, but because of a rejected photograph, an oversized signature file, or a last-second realization that they might not meet the age criteria. The good news? Every one of these problems can be fixed in minutes with the right tools. This last-minute checklist will walk you through exactly how to resize images, crop signatures, and confirm your age eligibility—fast—so you can hit submit with confidence.
Table of Contents
Why Applications Get Rejected at the Last Moment
Government exam portals are notoriously strict about upload specifications. Unlike casual websites, they enforce exact pixel dimensions, file formats, and size limits. A photo that looks perfect on your phone might be 4 MB when the form allows only 50 KB. A scanned signature might have too much white space around it. And an age miscalculation of even a single day can render you ineligible.
Here are the three most common culprits behind last-minute rejections:
- Photo issues: Wrong dimensions, oversized files, incorrect format (PNG instead of JPEG), or poor background.
- Signature issues: Too large, too small, excessive white space, or blurry scans.
- Age eligibility: Confusion about the cut-off date and whether you fall within the required age band.
Let's tackle each one with a quick, deadline-friendly fix.
Step 1: Fix Your Photo in Minutes
Your passport-style photograph is usually the biggest source of upload errors. Most exam forms specify a size range (often 20 KB to 100 KB) and precise dimensions (commonly 200x230 pixels or similar). Here's how to get it right quickly.
Check the Requirements First
Before touching any tool, read the notification's photo specifications. Note down:
- The exact pixel dimensions (width x height)
- The minimum and maximum file size (in KB)
- The accepted format (usually JPG/JPEG)
Use an Online Image Resize Tool
An image resize tool lets you upload your photo, enter the target dimensions and file size, and download a compliant version instantly—no software installation needed. This is a lifesaver when you're minutes from the deadline. Simply:
- Upload your original photo.
- Set the required width and height in pixels.
- Adjust the file size slider or compression to fit the KB limit.
- Download and save it with a clear file name.
If your photo is too large in file size but correct in dimensions, use a compression setting to shrink it without changing the resolution. If it's the wrong shape, crop it to the proper aspect ratio before resizing.
Step 2: Crop and Format Your Signature
The signature upload trips up more people than you'd expect. Exam portals often want the signature on a white background, within tight dimensions (frequently around 140x60 pixels) and a small file size (10 KB to 40 KB).
Scan or Photograph It Cleanly
If you haven't scanned your signature yet, sign in black or dark blue ink on plain white paper. Photograph it in good lighting or scan it. Then use an image crop tool to trim away the excess white space so only the signature remains, tightly framed.
Crop, Resize, and Compress
A dedicated signature crop tool makes this fast:
- Upload the scanned or photographed signature.
- Crop the image so the signature fills the frame without cutting off any strokes.
- Resize it to the required pixel dimensions.
- Compress it down to the allowed file size.
Double-check that the background is genuinely white and not a shade of gray, as some strict portals flag off-white backgrounds. If needed, brighten the image slightly during editing.

Step 3: Confirm Your Age Eligibility
Nothing is more heartbreaking than completing an entire application only to discover you're a few days outside the age limit. Every exam notification lists a cut-off date—the reference date on which your age is calculated. This is often different from the application date.
Use an Age Calculator
An age calculator removes all guesswork. Instead of manually counting years, months, and days, simply:
- Enter your date of birth.
- Enter the cut-off date mentioned in the official notification.
- Read your exact age in years, months, and days as of that date.
Compare this result against the minimum and maximum age requirements. Remember to factor in any age relaxations that may apply to your category (SC/ST, OBC, PwD, ex-servicemen, etc.), as these can extend the upper limit significantly.
Step 4: Run a Final Pre-Submission Check
With your photo, signature, and age confirmed, do a rapid final sweep before submitting. Use this quick checklist:
- Photo: Correct dimensions, within the KB limit, right format, recent and clear.
- Signature: Cropped tightly, white background, correct size, readable.
- Age: Verified against the exact cut-off date, relaxations considered.
- Personal details: Name spelling matches your ID documents exactly.
- Category and preferences: Correctly selected.
- Payment: Fee paid and confirmation received.
Take a screenshot or download the confirmation page immediately after submitting. Note down your registration or application number in a safe place.
Beat the Clock: Managing the Countdown
When the deadline is near, panic is your worst enemy. Keep an exam countdown in view so you know exactly how much time remains. Tackle the tasks in order of difficulty—usually the photo and signature first, since these are the most technical—then move on to filling in details and payment. Avoid last-second server crashes by submitting well before the final hour whenever possible, as government portals often slow down or crash under peak load in the final moments.
Conclusion
A rejected photo or a miscalculated age shouldn't stand between you and your dream job. With online image resize tools, signature crop utilities, and a reliable age calculator, every last-minute technical hurdle becomes a two-minute fix. The key is to work through this checklist methodically instead of scrambling in a panic. Read the specifications, prepare your documents, verify your eligibility, and submit early. Do that, and you'll turn a stressful deadline dash into a smooth, confident submission—leaving you free to focus on what really matters: acing the exam itself.
